Picture Calendar App: Your First Three Scans
A picture calendar app does one job: it takes an image with dates on it and turns those dates into calendar events. You point your iPhone at a school flyer, or you pick a screenshot out of your camera roll. The app reads the image, finds the title, date, time, and place, and shows you what it found. You check each field, correct anything that looks wrong, and save. No retyping, no switching between apps to copy a date across.
This walkthrough covers your first three scans and the questions people usually ask before they start. It assumes you have Photo2Calendar installed on an iPhone or iPad running iOS 17 or later, and that you have not scanned anything yet.
What a picture calendar app actually does
Most calendar apps expect you to type. A picture calendar app starts from the image instead. The image can be a photo you take on the spot or a file already on your phone: a paper flyer, a poster on a noticeboard, an invitation, a school timetable, a work roster, a printed calendar page, a page of handwritten notes, or a screenshot from a message or email.
The app looks for the parts of that image that behave like a calendar entry: a title, a date, a start time, and often a location. It builds those into event drafts and puts them on screen for you. It can also find more than one event in a single image, which matters when a flyer lists a whole term of dates.
Here is a concrete example. Your child comes home with a printed flyer: fall concert, Thursday November 19, 6:30 PM, in the school auditorium, doors open at 6:00. You photograph the flyer. The app returns a draft event with the concert title, the date, the time, and the auditorium as the location. You read it, fix the title if it grabbed the wrong line, and save. The whole thing takes less time than unlocking your phone and finding the right month.
Before your first scan: what to have ready
You do not need to set anything up. Two small things make the first run smoother.
First, decide where you want events to land. The app can save to Apple Calendar, open an event in Google Calendar, or share an .ics file you can import into Outlook and other calendar apps. Knowing your destination ahead of time saves you a decision in the moment.
Second, have one clean image to start with. A sharp, well-lit flyer where the date is clearly printed is the easiest possible first test. Save the crumpled, half-shadowed ones for later, once you know how the review screen works.
Your first scan: a paper flyer
Open the app and choose the image you want to scan: the camera if you are photographing the paper in front of you, or your photo library if you already took the picture. Let the app process the image. It runs on a server, so it needs a network connection and may take a moment.
When the results come back, read the draft before you touch save. Check the title first, because that is the field most likely to pick up an extra line of surrounding text. Then check the date, then the time, then the place. If something is wrong, tap it and correct it. Nothing lands in your calendar until you confirm.
Save to Apple Calendar when the draft looks right. The event appears in the calendar you selected, and you are done.
Your second scan: a screenshot
Screenshots are the most common image people scan, and they behave slightly differently from paper. A message from a coach that reads "practice moved to Saturday 9am, field 3" is a screenshot with one event in it and very little formatting. A screenshot of an email confirming a flight has a date, a departure time, and an airport, but also a booking reference, a fare line, and a footer of legal text.
Scan it the same way and expect to do a little more editing. The draft will usually get the core details right and may pull in text you do not want in the title. Trim the title down to something you will recognize in three weeks. Delete any stray text in the notes if the app added some.
One habit worth forming: save screenshots you intend to scan to your photo library first, so you are picking from a list rather than scrolling through a chat while a message thread keeps moving.
Your third scan: a timetable with many events
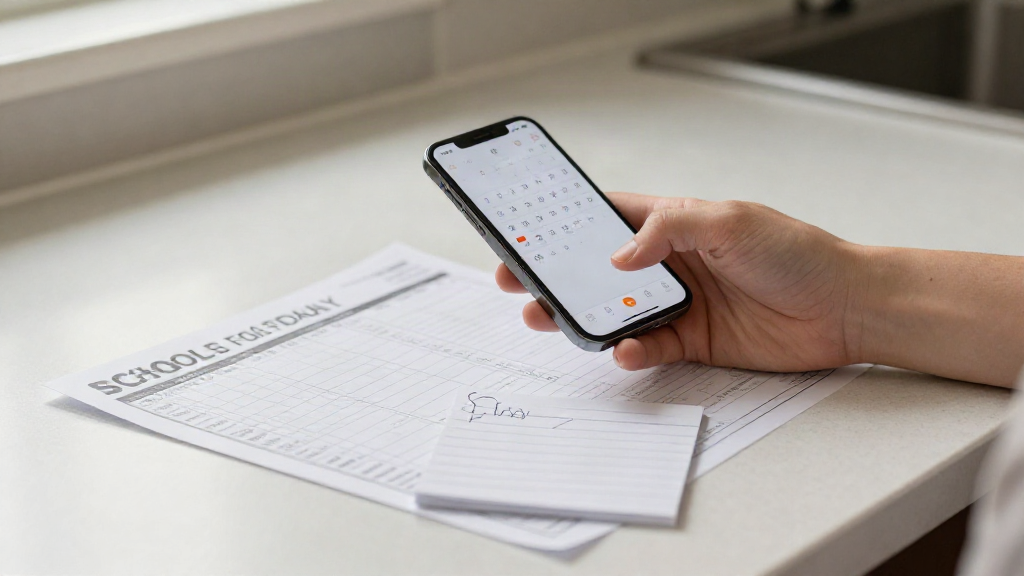
The third scan is the one that shows you whether the category is for you. A school timetable, a shift roster, or a term calendar has a dozen or more entries in one image, laid out in a grid.
Scan it and expect a batch of drafts rather than a single event. Work through them one at a time. The grid layout is harder to read than a paragraph of text, so this is the scan where careful checking pays off most. Confirm the day of the week matches the date, confirm the times are morning or evening as intended, and confirm each entry has a title you will understand later.
This scan also tells you how much time the app actually saves you. If you would otherwise type twelve events by hand, even a slow review pass is faster.
What to check on every scan
Four fields carry almost all of the risk, and they are the same four every time.
The title. Does it read like an event you would search for, or like a fragment of a sentence?
The date, including the year. Flyers for next year's event and screenshots from last month's are easy to mix up.
The time, and whether it is morning or evening. A 6:30 concert and a 6:30 morning drop-off are the same characters.
The location. A street address, a room name, or a field number all help later, and a misread one sends you to the wrong place.
Accuracy: what it can and cannot read
Photo2Calendar reads printed text well and handwritten text with less certainty. Blurry photos, glare, low light, tight cursive, and busy backgrounds all make mistakes more likely. When the app is unsure, it may drop a detail or guess at one.
That is the reason for the review step, and it is why the review step is not optional in practice. The app does not quietly write to your calendar behind your back. You see the draft, you approve it. If an event matters, read it before you save it.
Privacy: where your image goes
Images are processed on a server, not on your device. Your photo leaves your phone to be read, which is how the app handles handwriting and complex layouts that on-device tools struggle with. If you would rather not send a particular image anywhere, do not scan it.
Subscription: what it costs and what it covers
The app is free to download. Scanning and export need a Premium subscription, priced at $1.99 per week, $4.99 per month, or $29.99 per year at US prices. There is no free trial. You subscribe before you scan, not after, so decide on the plan that matches how often you expect to use it.
If you scan a few times a week during the school year, the weekly plan is easy to stop and start around busy periods. If you scan year-round, the yearly plan is the cheapest of the three on a per-month basis.
A short checklist for your first week
Scan one clean printed flyer and save a single event. Scan one screenshot and edit the title down to something short. Scan one grid timetable and work through the whole batch. Then look at your calendar a few days later and see whether the events you saved still make sense to you out of context.
That last check is the real test. A picture calendar app is only useful if the events it creates are ones you can trust when the day arrives. The scans are fast. The checking is what makes them worth keeping.